 |
|
|
|
|
|
|
|
|
|
|
|
|
|
|
|
|
|
Template copy path
- Copy "3dvirtualset.com_xxx" under "Templates" folder to the following path:
- C:\Users\Public\Documents\NewTek Content\LiveSets\Templates
- For example, the correct path of "3dvirtualset.com_125" should be like this:
- C:\Users\Public\Documents\NewTek Content\LiveSets\Templates\3dvirtualset.com_125
Open the template
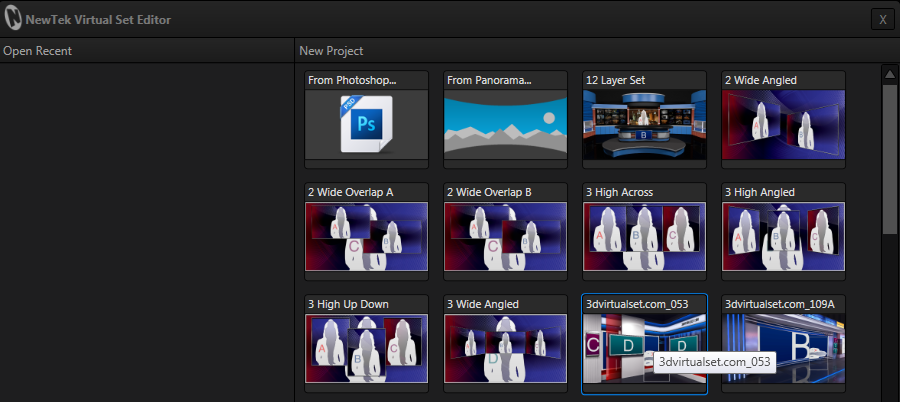
- 1. Open Virtual Set Editor
- 2. File – Open – Choose the template ”3dvirtualset.com_xxx”
Edit Your Logo
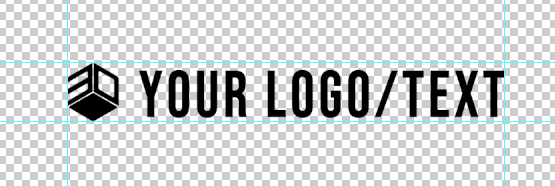
- 1. Use Photoshop to open Logo.psd / Text.psd under the "Edit Your Logo (Text)" folder, replace it with your logo inside the reference line and save it as a new png file.
- 2. Copy the new png file to the following path, and replace the original png file.
- C:\Users\Public\Documents\NewTek Content\LiveSets\Templates\3dvirtualset.com_xxx\3dvirtualset.com_xxx\Proxy
- (xxx=Your virtual set number, for example: 3dvirtualset.com_125)
- Note: The new Png file name should be consistent with the original file name. When replacing PNG files, you may need to close Virtual Set Editor first.
Angles and Shot Presets
- 1. The template you downloaded may contain multiple angles, click the thumbnail to switch.
- 2. Usually we prepare 4 shot presets for each angle, their numbers are 1, 2, 3, 4. If the template you downloaded contains two sitting anchors, their shot presets numbers should be 5, 6, 7, 8.
- Note: That only 1 Anchor is displayed by default. The dual anchors mode are hidden, and you need to manually display them. (Anchor 2; Anchor 3)


Anchor
- 1. Sit broadcast (Half body anchor)
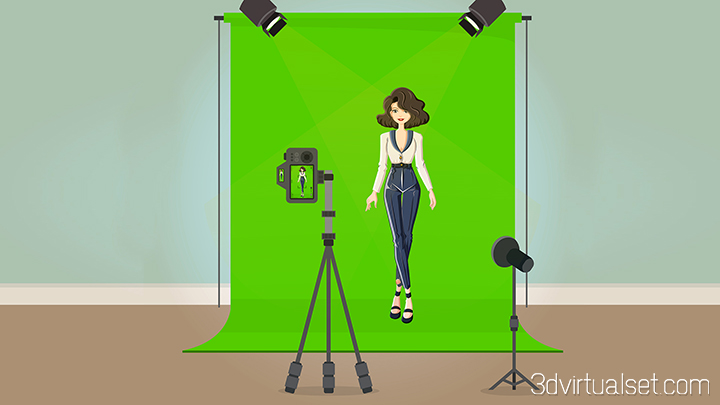
- As it is in the picture preview, the anchor's hands are on the table, and the waist is blocked behind the table. This means that your acquisition signal contains: the green background, the anchor and the green table.
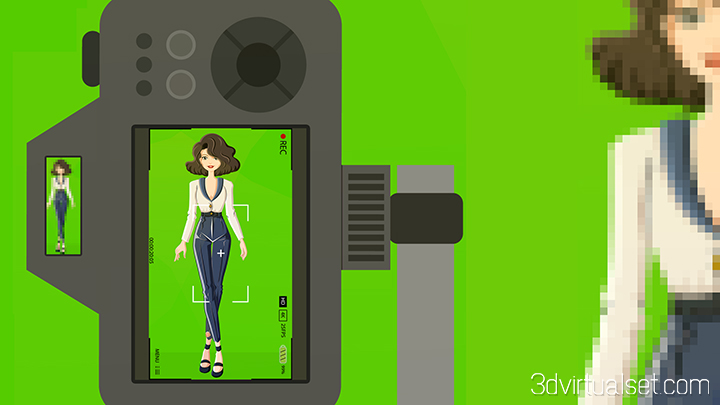
- Please pay attention to the position and size of the anchor in the camera viewfinder.
- Note: You can find Anchor’s shooting reference pictures in the folder named "Placeholder".
- 2. Stand broadcast (Full body anchor)
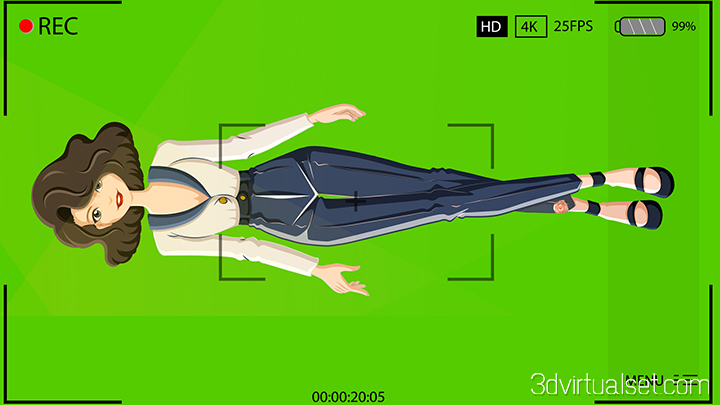
- In order to ensure the clarity of the anchor signal during Medium shot or Close-up, we adopted the vertical shooting method. Of course, you also need to do this when collecting the announcer signal.
- In Virtual Set Editor, the anchor signal will automatically adjust the orientation by UV Map.Please pay attention to the position and size of the anchor in the camera viewfinder.
- Note: You can find Anchor’s shooting reference pictures in the folder named "Placeholder".



Screen
- 1. Input source
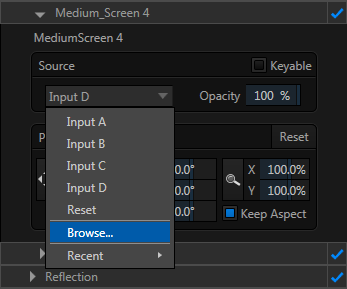
- Virtual Set Editor only has 4 dynamic signal inputs: A, B, C, D. If the virtual scene has 2 Anchors, even if they have more screens, they can only assign two different input sources at most, which means there are Part of the screen content is repeated.
- Solution: Use different static pictures instead of input sources for some screens.
- 2. Resolution
- Even if the aspect ratio of some screens seen in the virtual scene is not 16:9, the aspect ratio of your screen video material or picture material should still be 16:9, which is 1920x1080. This can ensure the aspect ratio of the video material Will not be stretched or deformed.
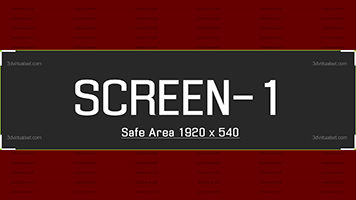
- It is worth noting that you need to use the placeholder reference pictures of each screen to determine the safe area of the video or picture content.
- Note: You can find the reference map of the screen safe area in the folder named "Placeholder".
Change light color
- 1. Change the colored light layer
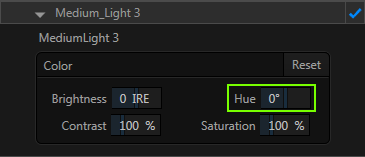
- Just set the Hue value directly. You can also change the contrast and color saturation.
- 2. Change the colorless light layer
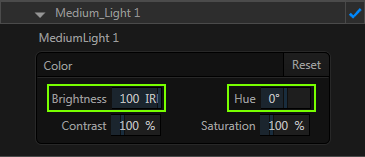
- Reduce the brightness to 0 IRE and set the Hue value.
